Baroque You
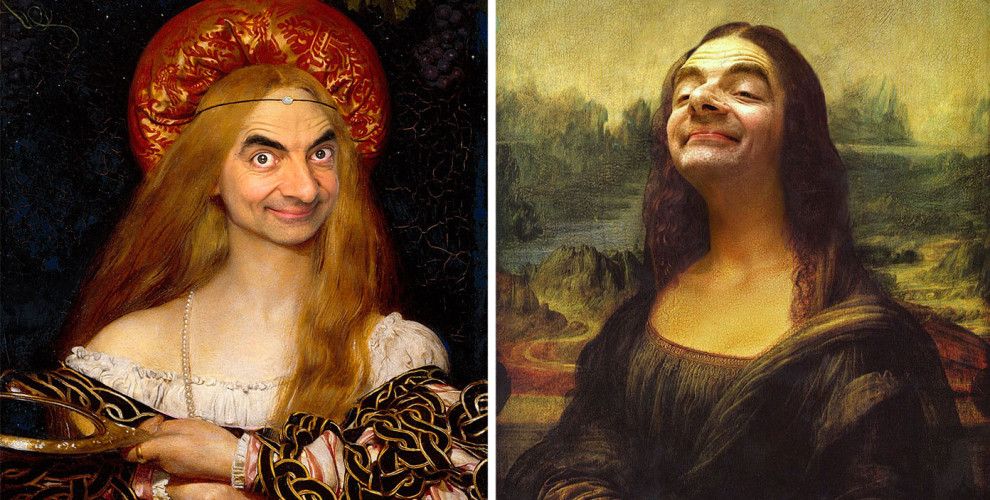
Put yourself in almost any painting and elevate your status from serf to sire.
By putting your face in a Renaissance or Baroque-style painting, people are sure to know you're someone important. Making your own is easy, and can be printed on canvas or just saved as your new phone background.
By putting your face in a Renaissance or Baroque-style painting, people are sure to know you're someone important. Making your own is easy, and can be printed on canvas or just saved as your new phone background.
Step 1: Photo Editing
start by opening a new document larger than the painting image. As a default I opened a 3000 pixel wide blank canvas.
** Resolution only needs to be this high if you intend to print this as a poster or canvas.
** Resolution only needs to be this high if you intend to print this as a poster or canvas.
Step 2: Source Images
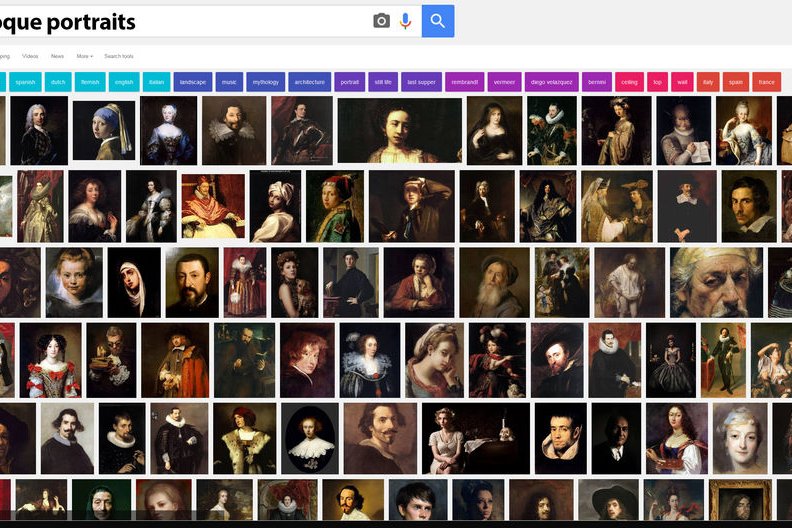
Start by performing an Internet search for Baroque or Renaissance portraits, and see what images you like. Look for paintings that have crisp clean images, and an interesting composition. Make sure you set the image search criteria to return large image sizes: in Google, tools > size.
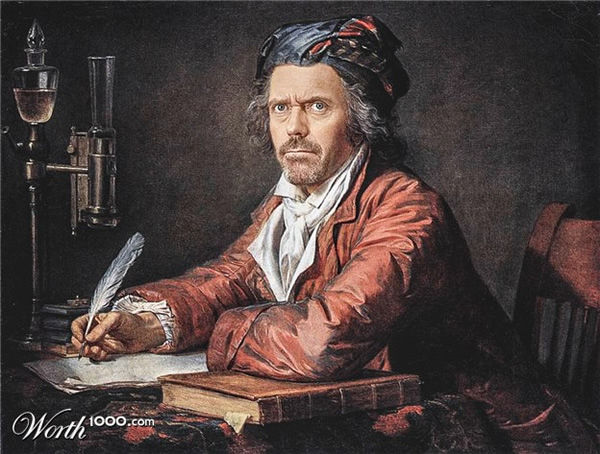
Hilariously, I found a similar idea done to actor Hugh Laurie. Whether this was an edit like what I show in this tutorial, or an original piece, it's masterful in crispness, composition, and execution. Since it doesn't matter who's face is on the original painting, this is what I used in this example.
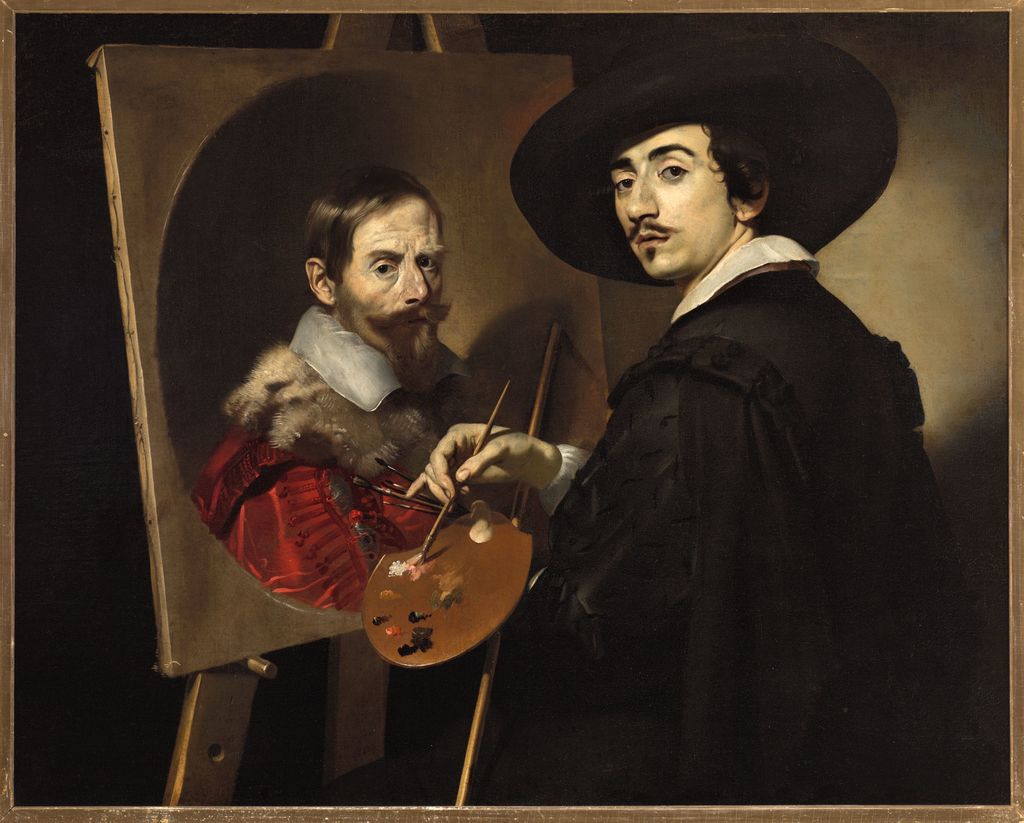
Here's another painting that was on my short list of images to try. Though this technique will work with a wide variety of paintings, the best ones are where the subject is looking directly at the audience. It's best to select a few paintings since the technique sometimes doesn't look convincing no matter how much time you spend on it, better to start again from a new painting at that point.
When you've found 2-3 paintings you like save them to your computer in a folder.
Now to find pictures of your subject. The easiest pictures to work from should:
- Show entire head
- Be facing camera
- Have neutral expression
- Cast minimal shadows
- Have nothing obscuring face (scarves, hair, hat, sunglasses, etc.)

Make 2-3 image selections and copy them to the same folder where your paintings are saved.
Step 3: Open Pixlr + Trace Face
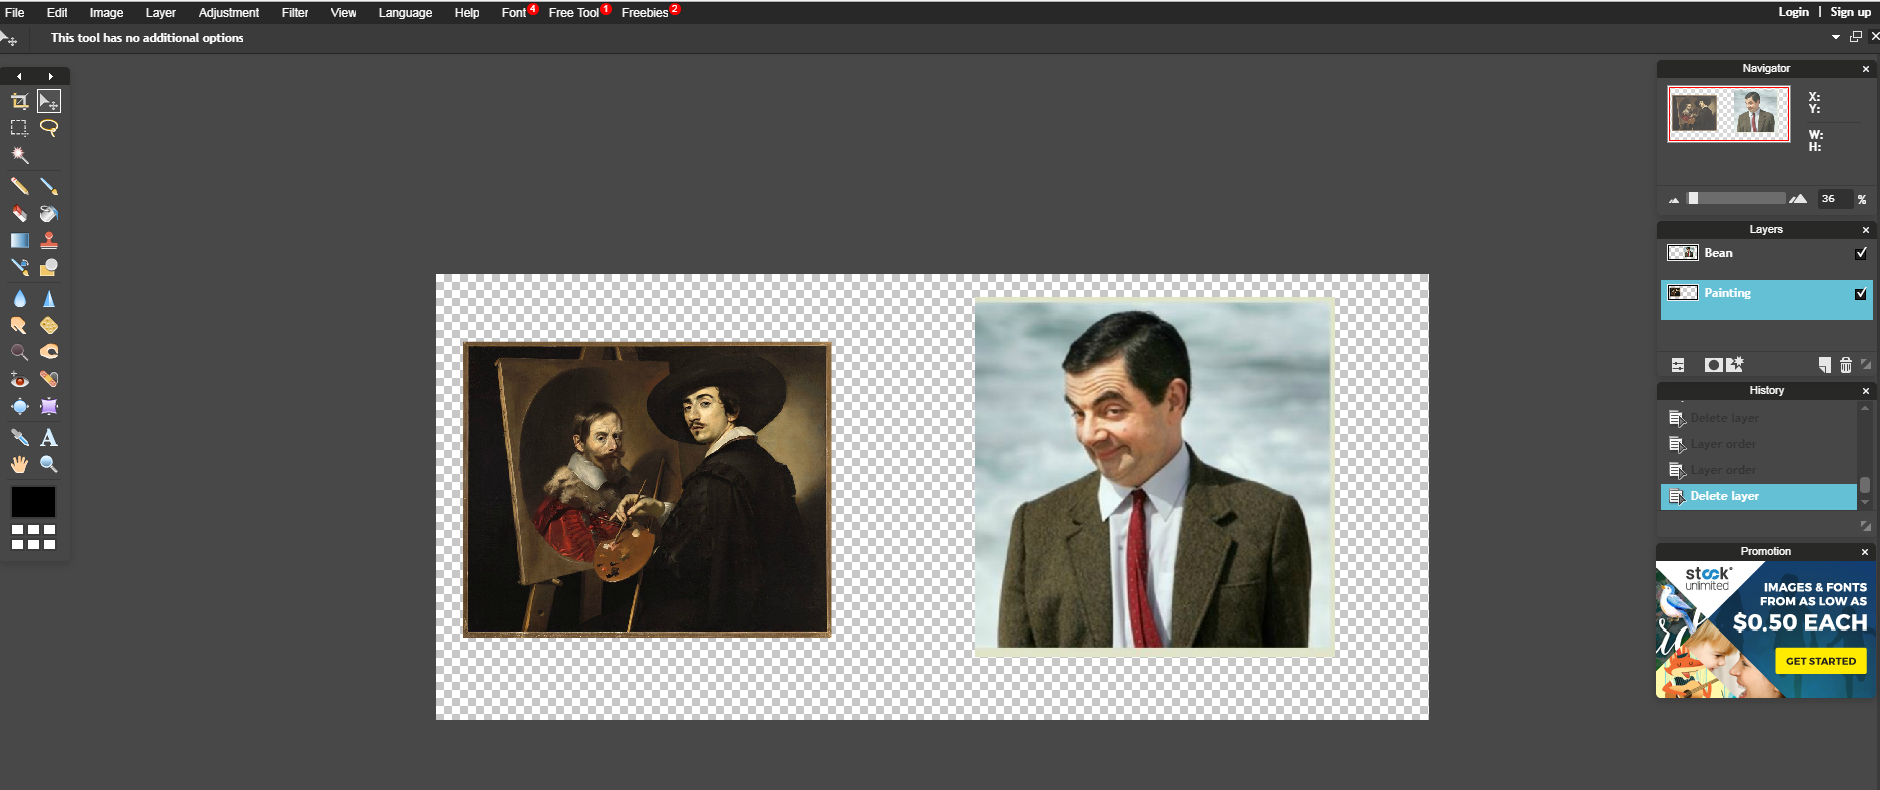
Open your photo editor and create a new canvas 3000 pixels wide by 2000 pixels tall. We'll be trimming this down considerably, but this is a good place to start with plenty of room.
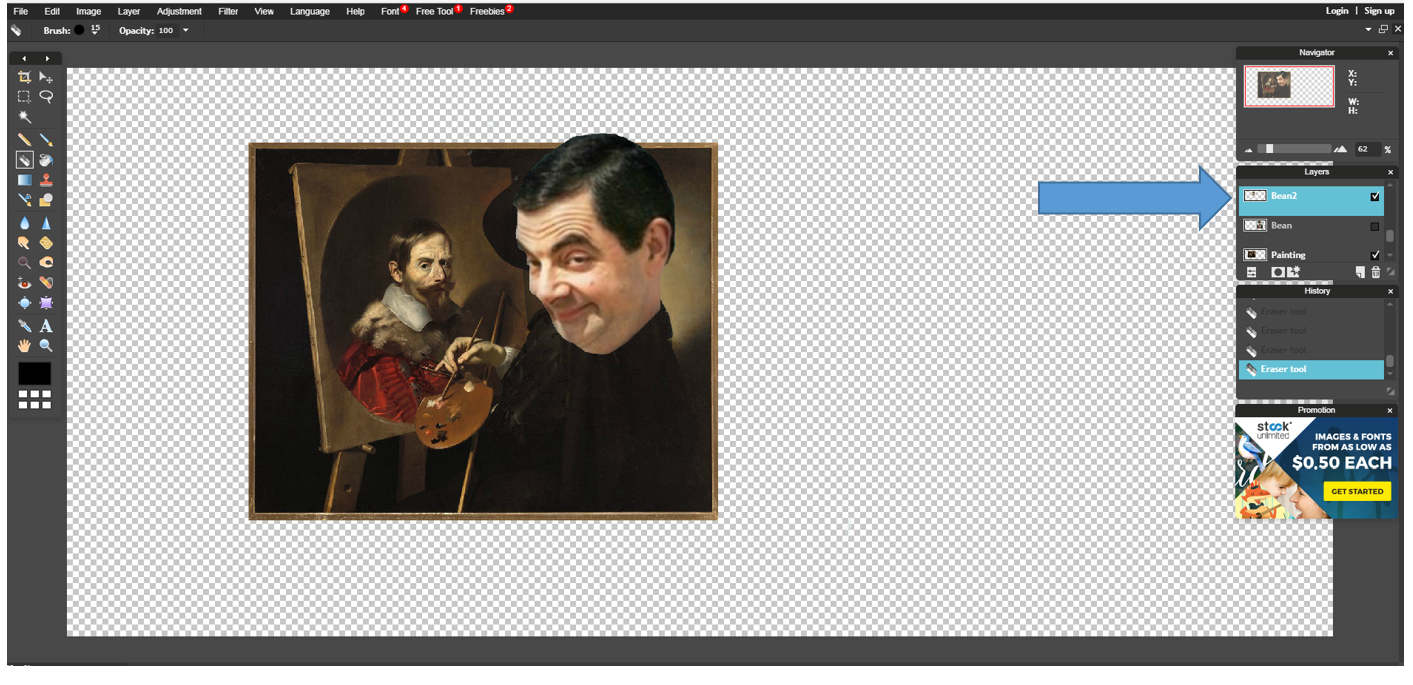
Place your painting image and your face source in the same canvas, they should appear on separate layers, with the painting on the bottom layer and your face source above it.
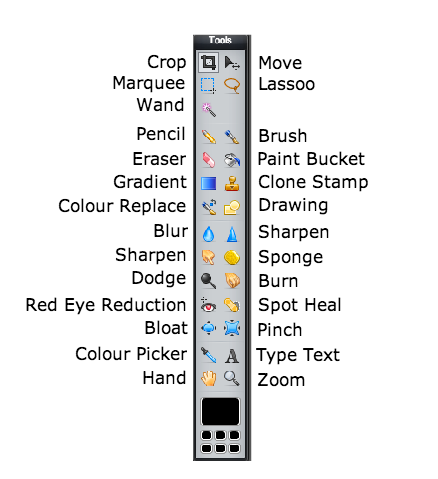
Select the face image layer and then choose the selection tool. There may be a few types of selection tools available to you, I chose the magnetic lasso tool since it makes tracing around shapes easy. Trace around the entire head of your subject and include the neck.
When you're happy with your selection, copy the face outline to a new layer (Pixlr: Edit >Copy , Edit > Paste). With your face selection on a new layer, turn off the face source layer, since we'll not be using it any more.

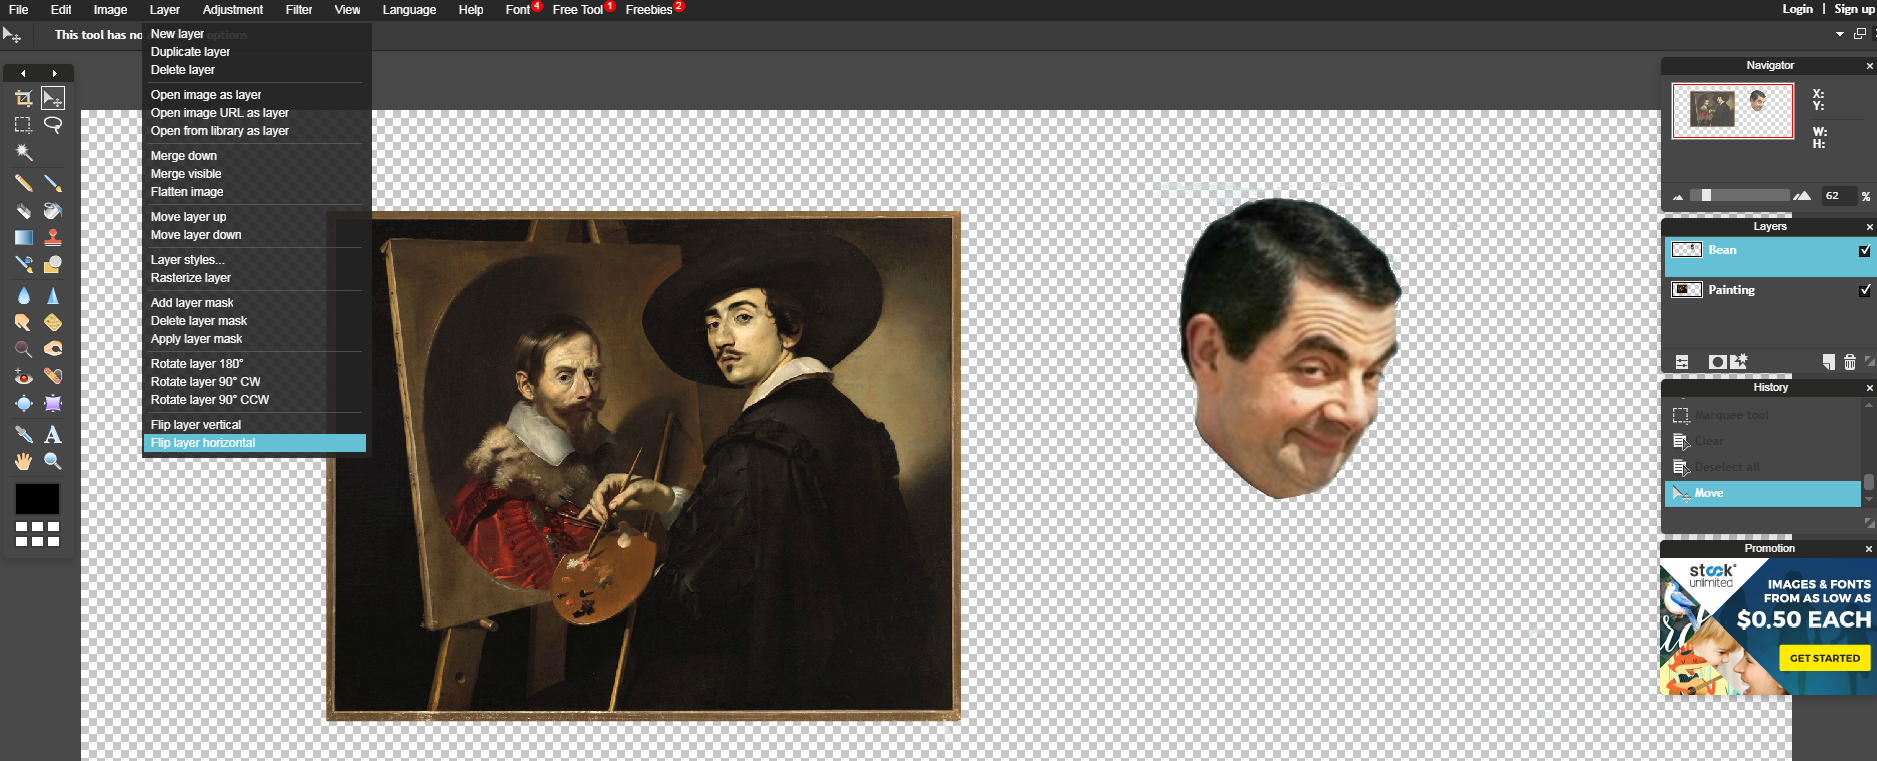
Select the face outline and position it to it roughly approximates the painting image, for my image I had to flip it horizontally. To do this, you can go to the toolbar up top and use Layer >Flip Layer Horizontal
Step 5: Position Head (Size + Rotation)
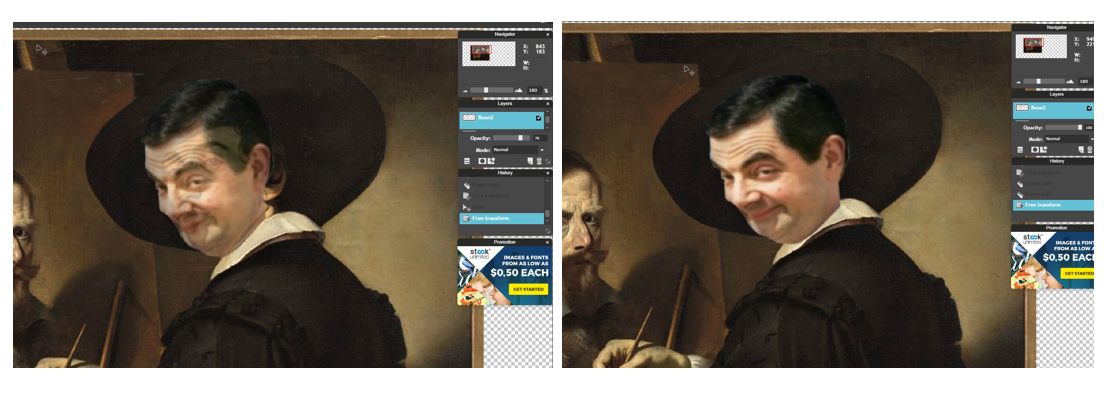
Still on the face layer, use Edit > Free transform to move and rotate your subject face over the painting.
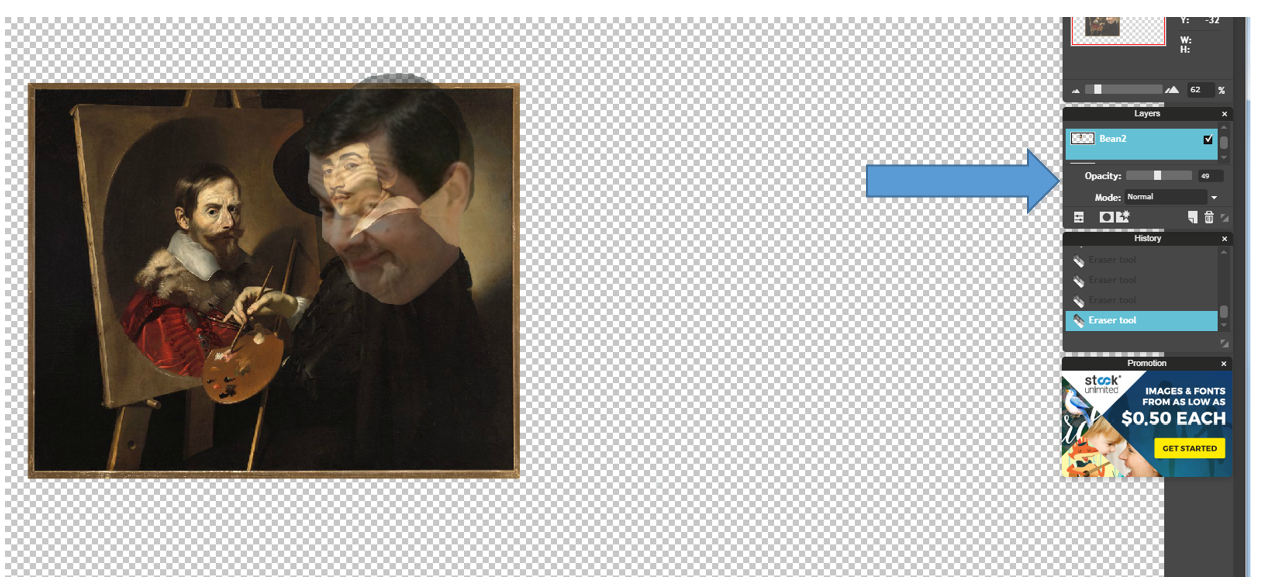
On the bottom of the layer manager window there is an opacity slider that lets you see below the layer you are on. Use the opacity slider set to 50% to see under your face layer and move the face over the painting face.
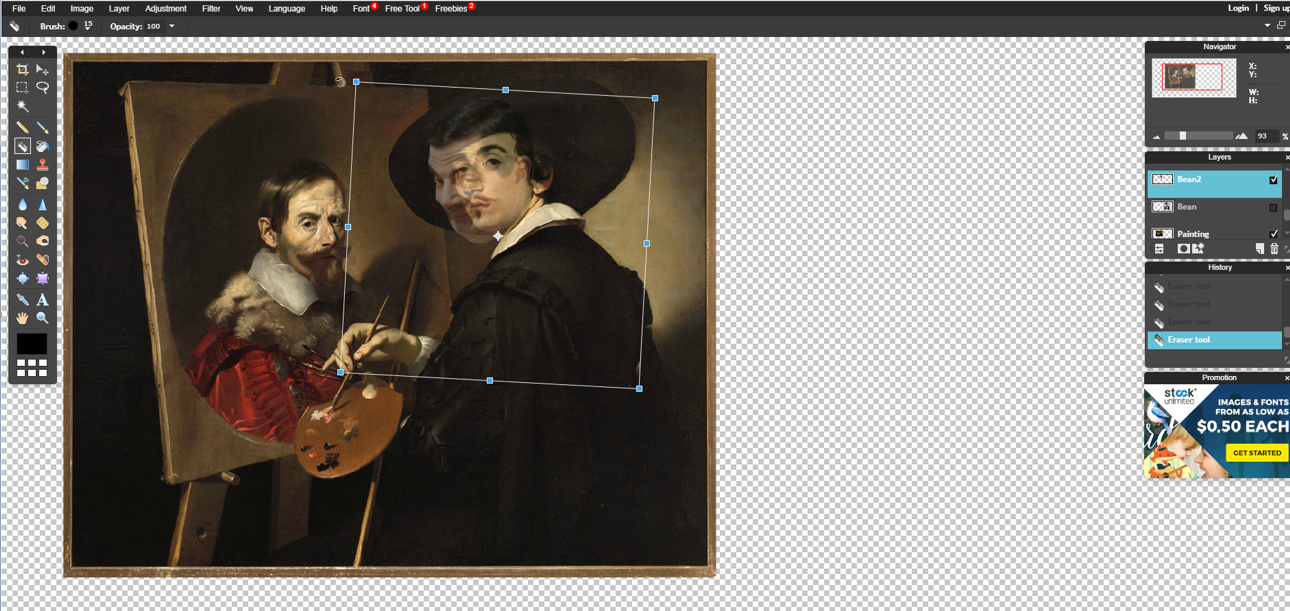
Grab the control points on the bounding box to resize your face image to match the painting size (hold Ctrl while resizing to constrain the proportions). Hover your mouse outside the bounding box and click and drag to rotate the image.
Step 6: Align Image
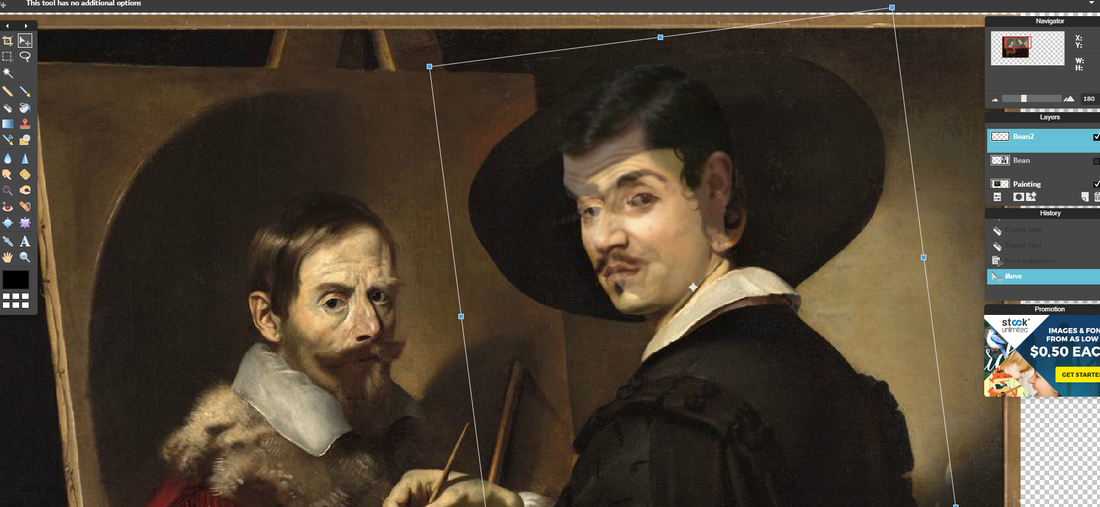
I find it easiest to line up the eyes of the subject to the painting, then make minor adjustments to get the alignment right.
You'll notice that the source face and painting should roughly match in perspective, otherwise you'll need to make lots of adjustments. If you can't get it to work, just start again with a new source face with a different perspective, one that more closely lines up with your painting.
When you are happy with the size and rotation accept the selection by pressing enter. Then, move the opacity slider back to 100%.
Step 7: Erase With Soft Edge Brush
Next we'll erase the edges of the face image with a soft edge brush.
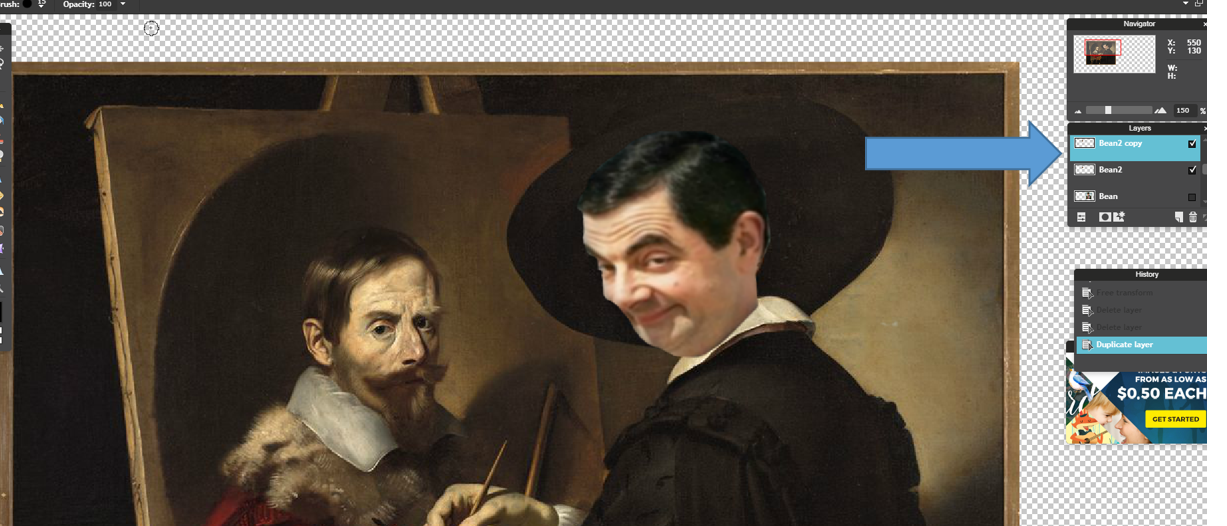
Start by making a copy of the face layer (Crtl+J), this is backup in case something goes wrong. Hide the face outline layer you copied by clicking the check box on that layer, then select the copy face image layer to work on that layer.
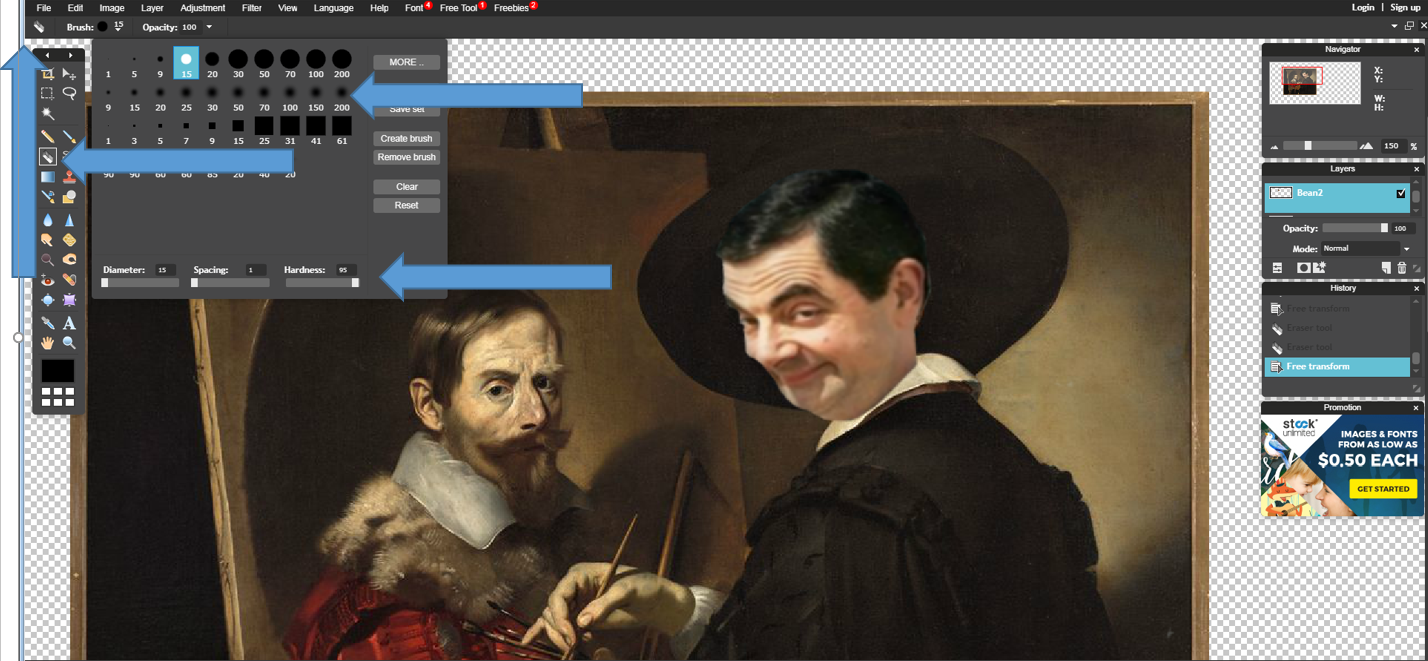
Chose the erase tool from the toolbar and then select a brush with a soft edge. Work around the perimeter of your face image to remove the crisp outline that you traced earlier. Use a small brush to get started, when you feel comfortable you can go for a larger brush and speed up your work; You can increase or decrease the size of your brush on the fly by using the [ and ] keys.
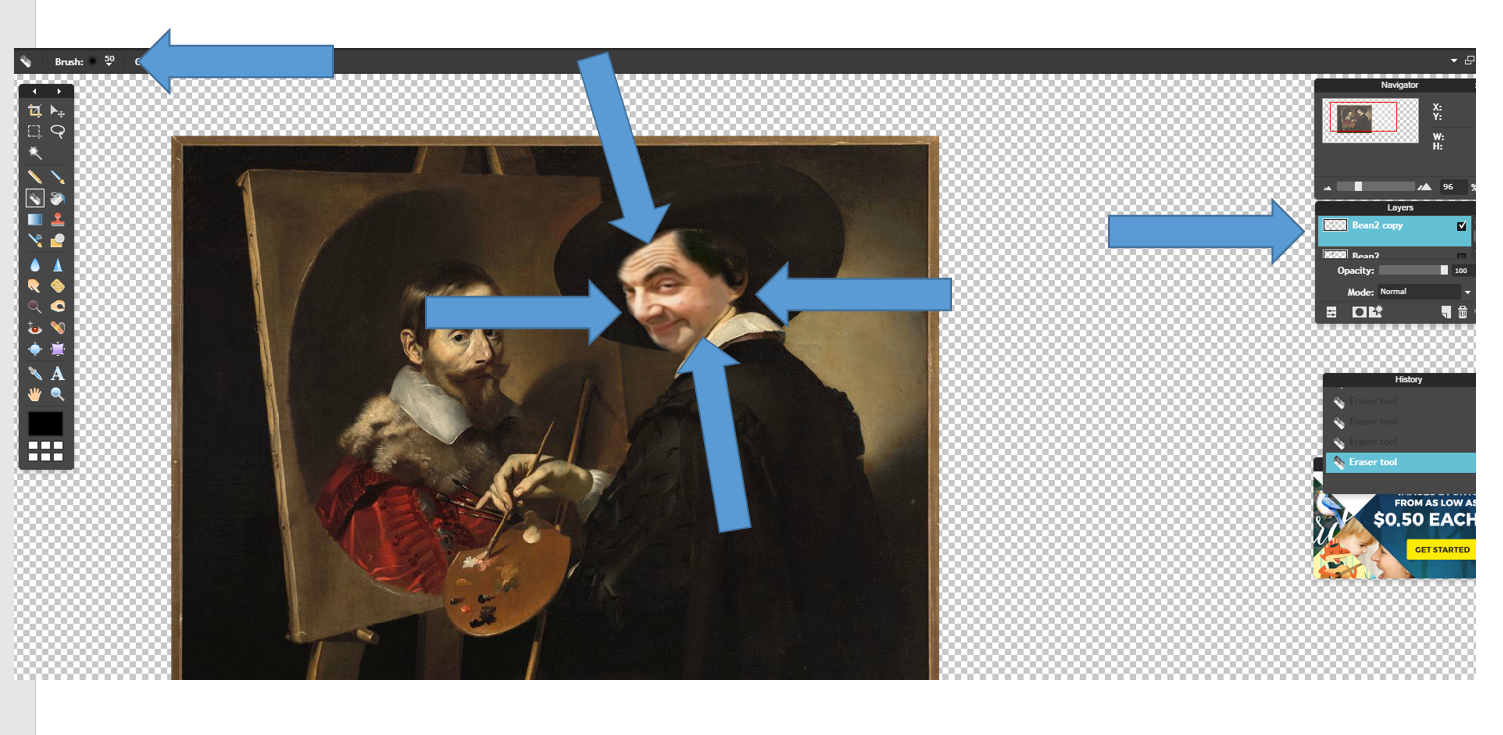
Once the crisp edges are dulled with a soft erase tool, try lowering the opacity of the erase tool and go around the edges again to further soften the transition from your face outline.
Step 8: Match Levels
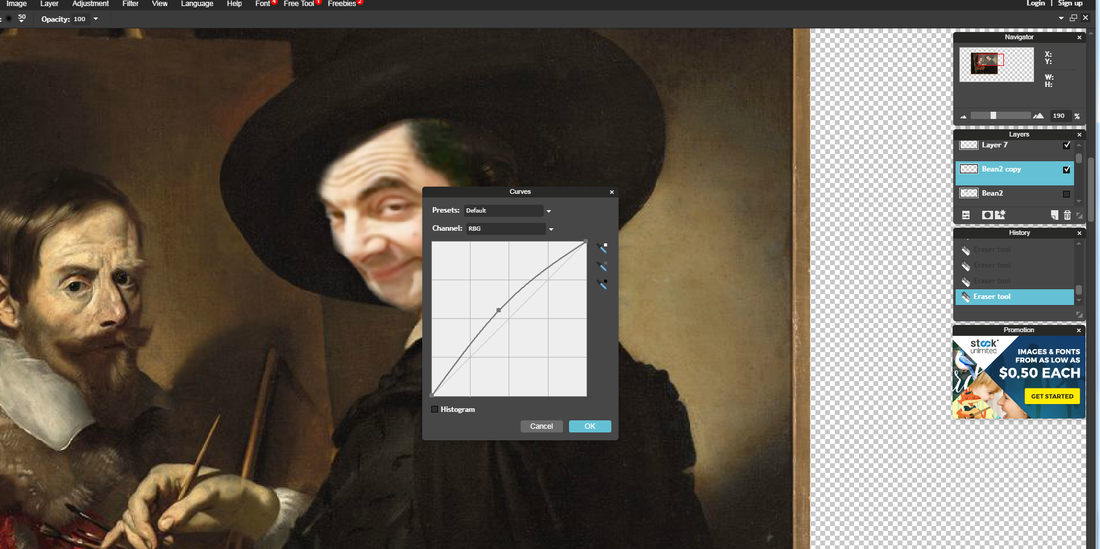
Your face image is likely the wrong color and tone to match the Renaissance painting. To fix that, we can change the Adjustment > curve of the face image. Play with the curve to achieve a close match, I usually find making an upwards arc gives a nice light image that has the color slightly blown out.
Another option to refine the color match is to use the Hue/Saturation tool with Ctrl+M. Try moving the saturation slider down, and the hue slider to get the look you are looking for.
Step 9: Filter Effects
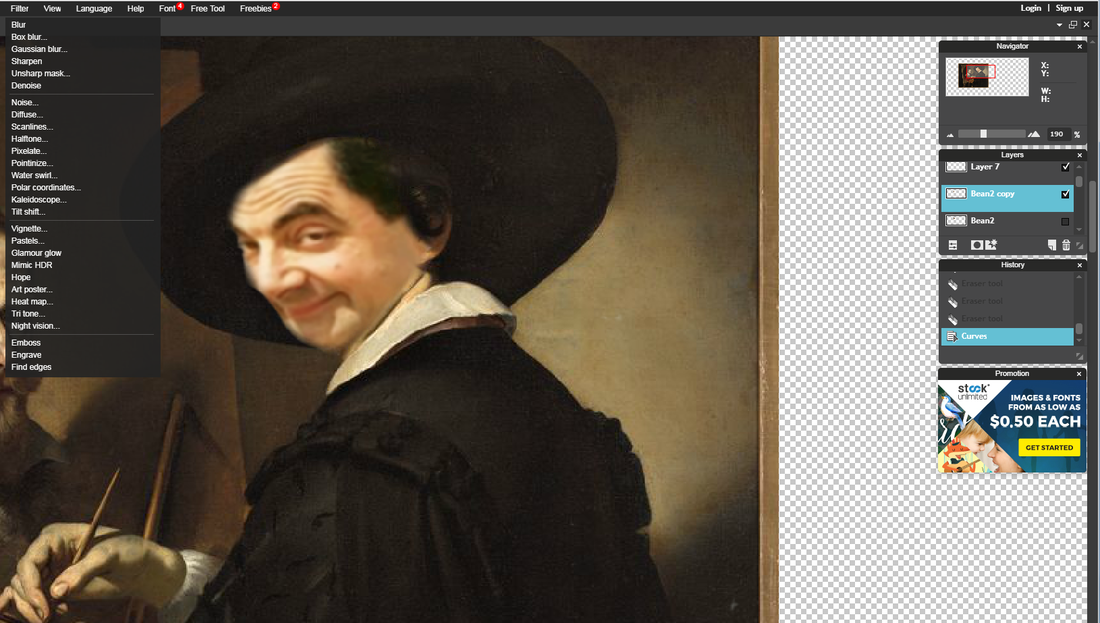
Even with the color closely matched to the painting, the face image looks too new to pass as an old painting. For this, we'll apply a layer filter to the face image to make it look aged.
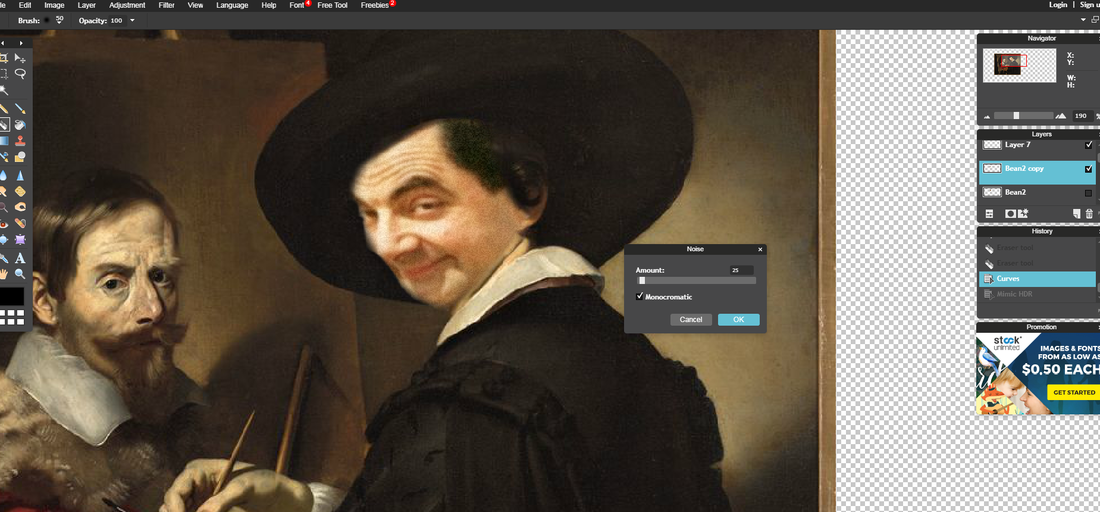
I scrolled down to Filter > Noise and applied a small amount to the face layer. Move the sliders around to get the effect that best matches the look you like.
Step 10: Crop

Select the crop tool from the toolbar and highlight the area you want to keep. In this case, I removed the reference pieces I had off to the side, and trimmed up the edges of the reference painting to keep to focus in the middle of the scene.
Hit enter to crop the selection.
Hit enter to crop the selection.
Step 11: Sizing + Save
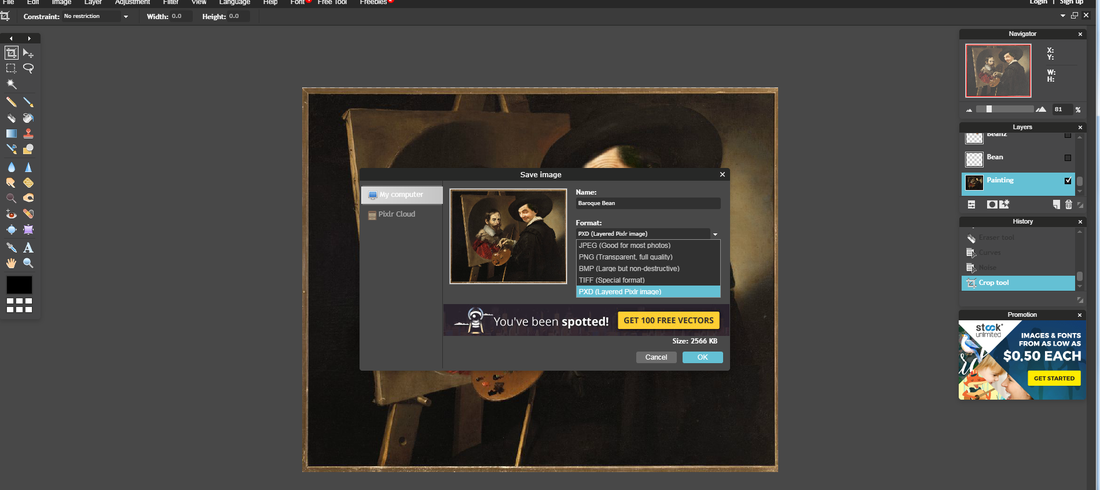
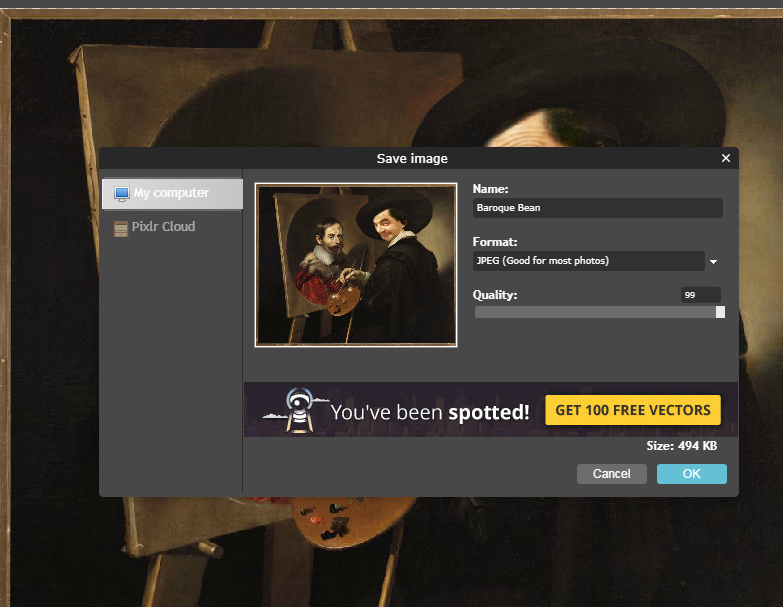
Using the save as selection to save a Pixlr file (PXD) which I could come back to later, I then make another save as to save a high-quality JPG file that I would print from.
