This is a step by step tutorial of how to add a "zombie effect" to a photo.
1.) Go to Pixlr Editor
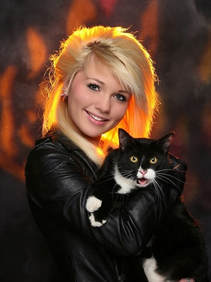
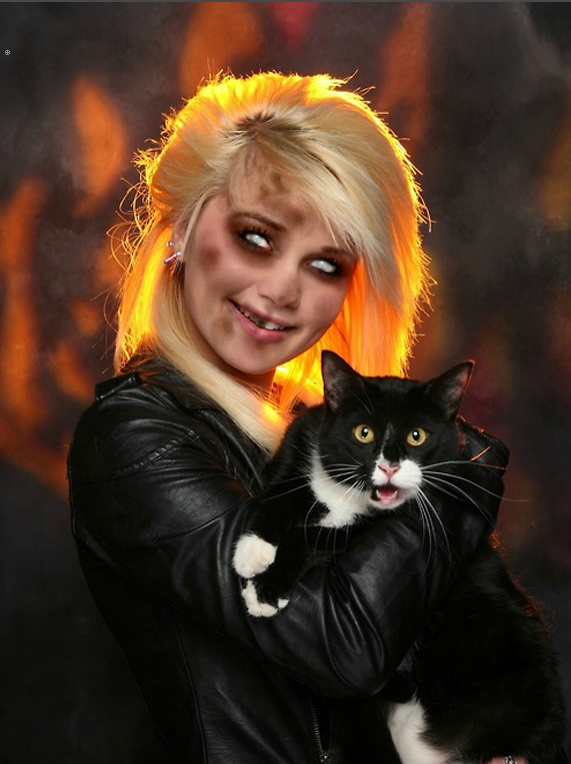
2.) Find an image for the portrait. It can be of yourself or from Google. Make sure it is high resolution or it will be too pixilated.
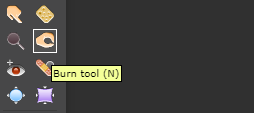
3.) Using the Burn tool, put dark circles under the eyes, bruises on the skin and discolor the teeth.
•Adjust the size of the brush as needed but make sure the harness is set to 0.
•Start at a low exposure and gradually build up for a more natural look.
•Adjust the size of the brush as needed but make sure the harness is set to 0.
•Start at a low exposure and gradually build up for a more natural look.
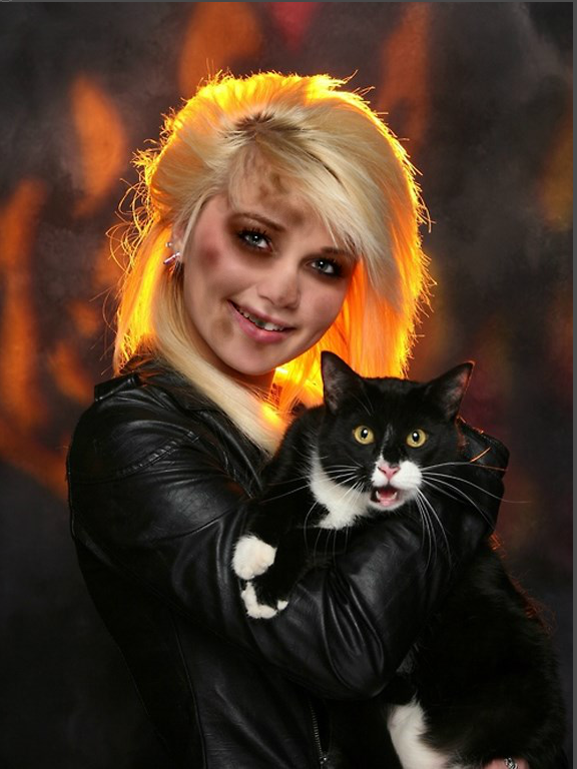

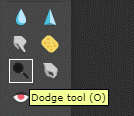
4.) Using the Dodge tool. whiten the eyes, being careful to avoid the skin around the eye area.
*Hint*
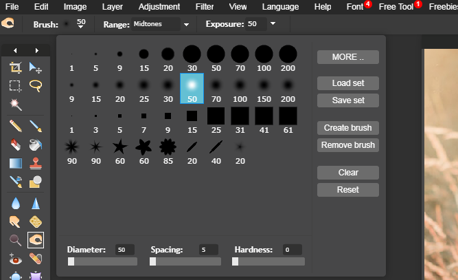
Adjust the brush size (Diameter) so that it’s the same size as the eye.
*Hint*
Adjust the brush size (Diameter) so that it’s the same size as the eye.
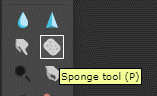
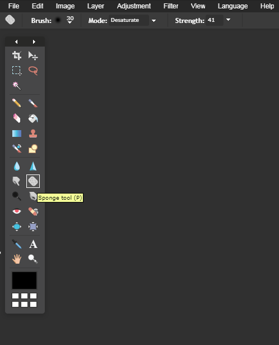
5.) Using the Sponge tool, remove the healthy tone from the skin so that it looks ashy and pale (dead). Make sure to change the mode to "Desaturate".
*Hint*
Make the brush large but be careful not to over do it. Avoid the areas where you used the burn tool or they will turn dark gray.
*Hint*
Make the brush large but be careful not to over do it. Avoid the areas where you used the burn tool or they will turn dark gray.
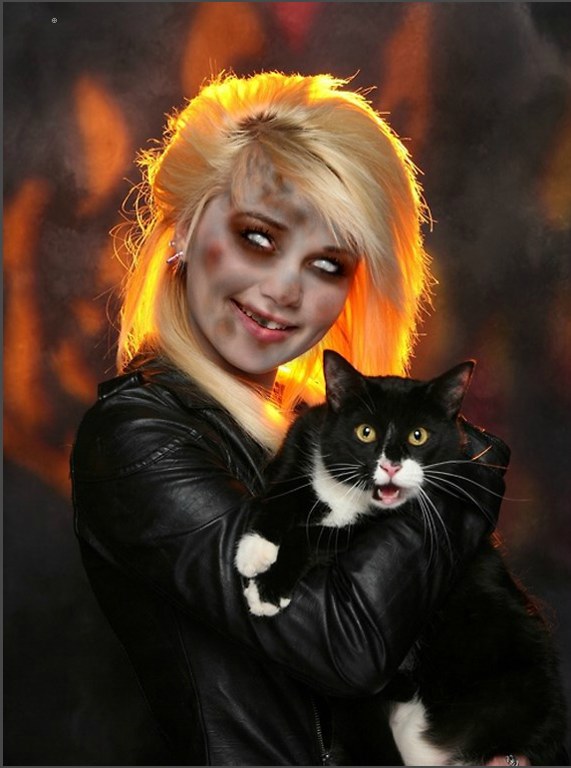
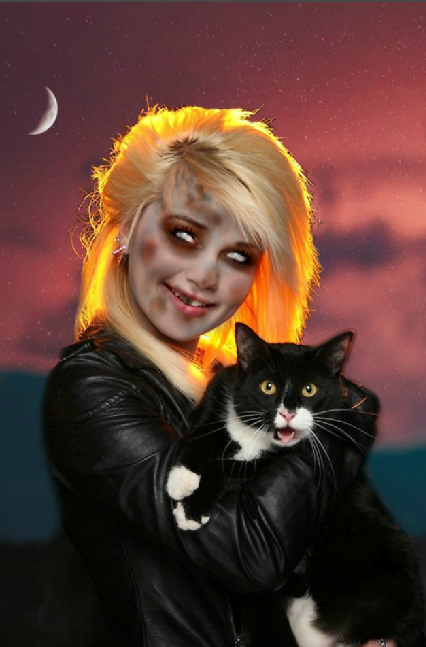
6.) Once you are happy with the look of your zombie, carefully erase the background and replace with a creepy scene.